How to Configure the Digital Business Wallet Card made by Code Queen
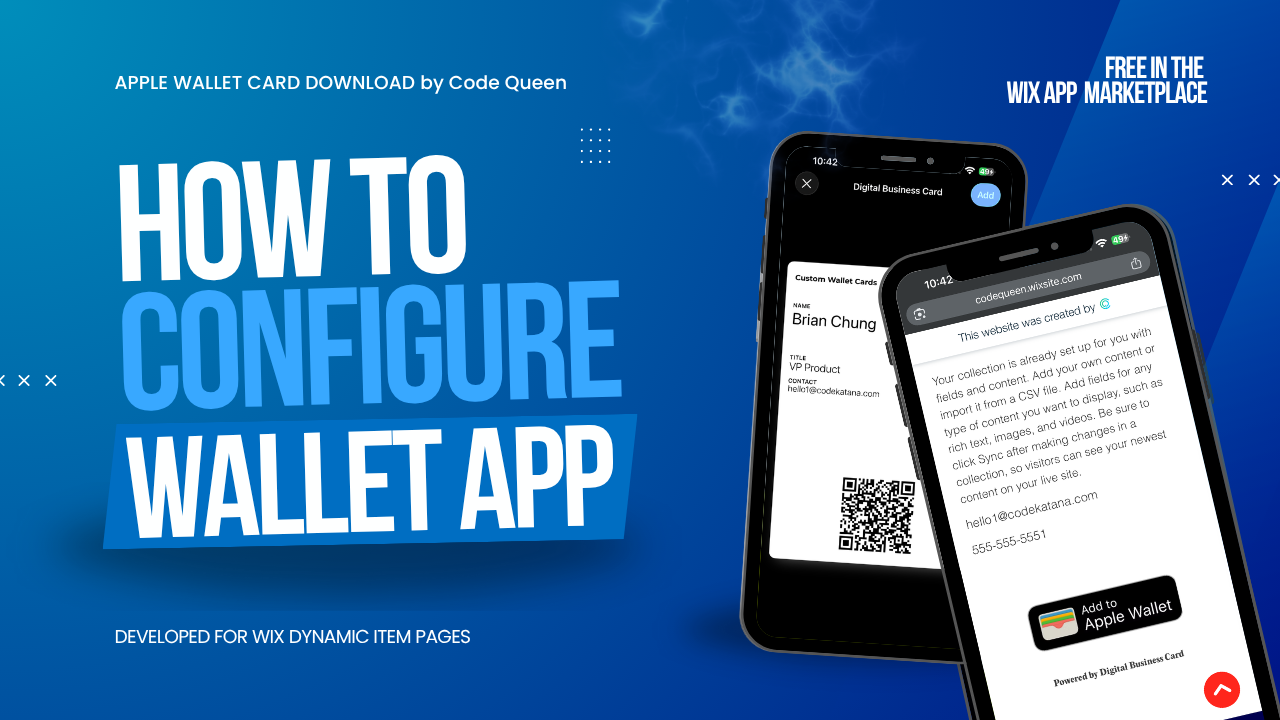
Look for the app launch on the Wix App Marketplace after October 2025. Feel free to contact Code Queen if you want to try it out before the release! This app works on any FREE or Wix premium website. Check out our sample website here: https://codequeen.wixsite.com/sample-apple-wallet.
Adding to a Dynamic Item Page
Approximate time: 1-2 minutes
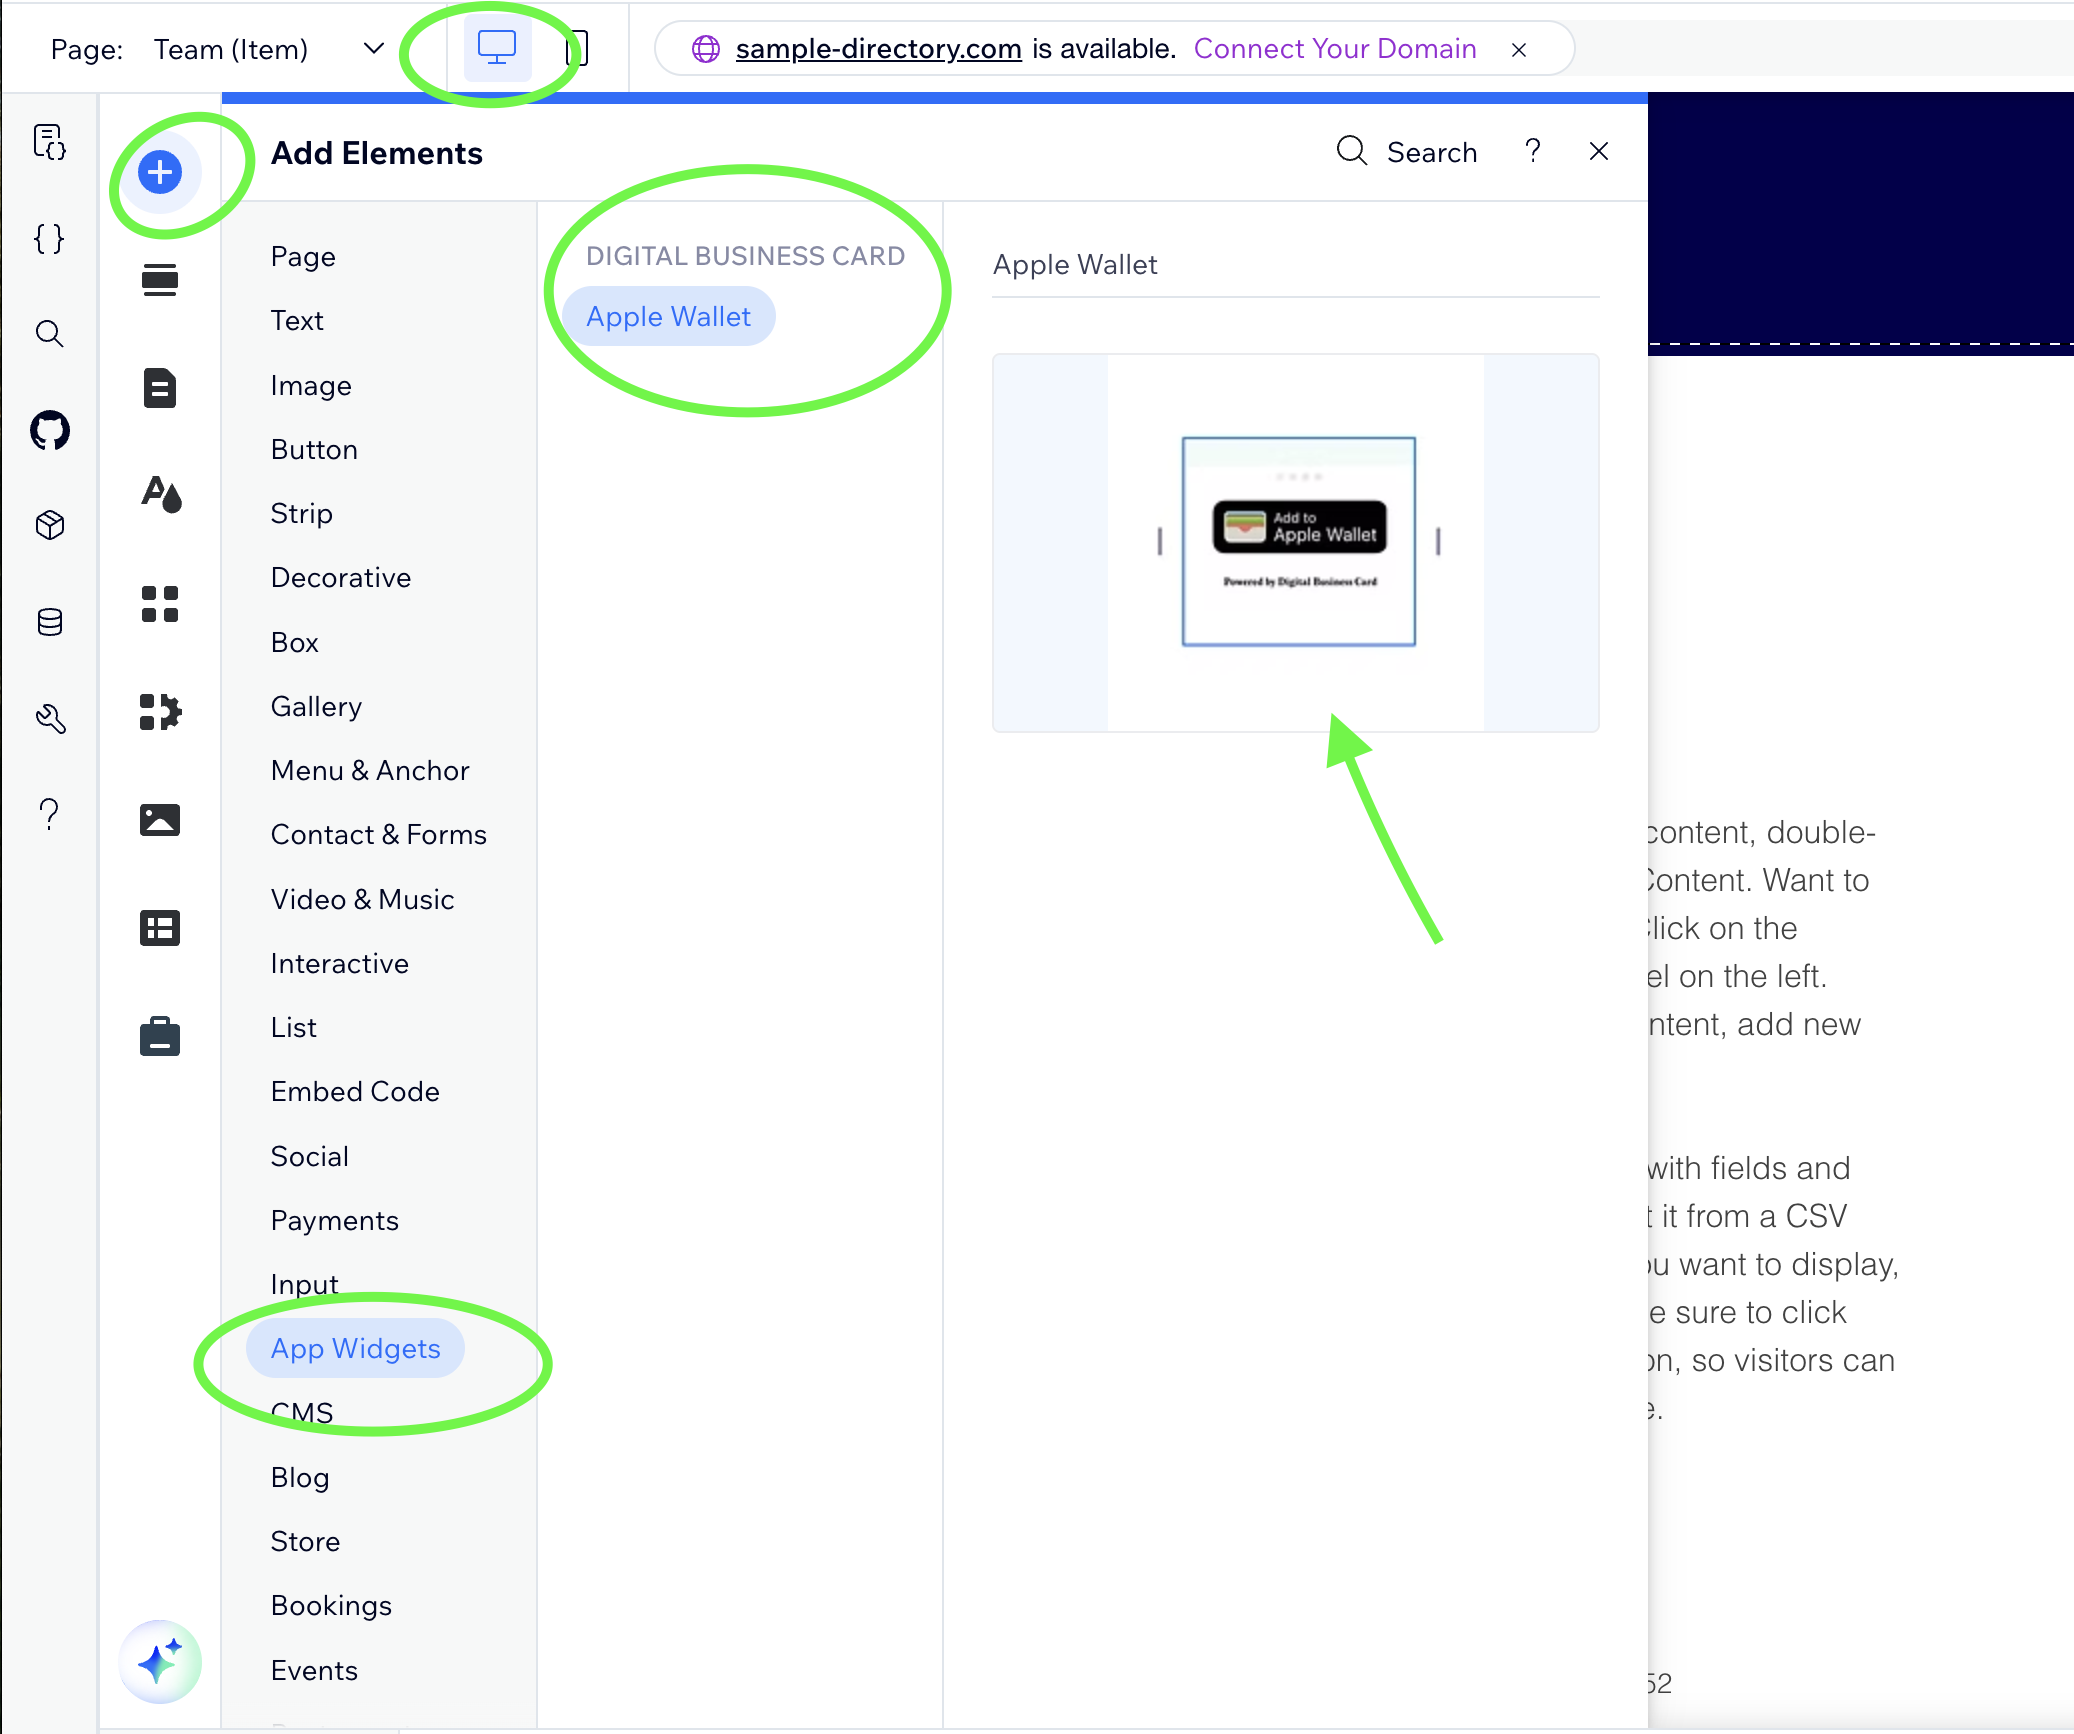
You can locate your Digital Wallet Card widget in the Wix Editor via Desktop Mode by clicking on the PLUS icon, and then after clicking APP WIDGETS you will see all of the apps currently installed on your website. Look for the app called DIGITAL BUSINESS CARD to find the Apple Wallet widget. Once you have found it, navigate to a Dynamic Item Page on your website to drag-and-drop the widget onto the page.
Step 1 - Configure Data
Approximate time: 1 minutes
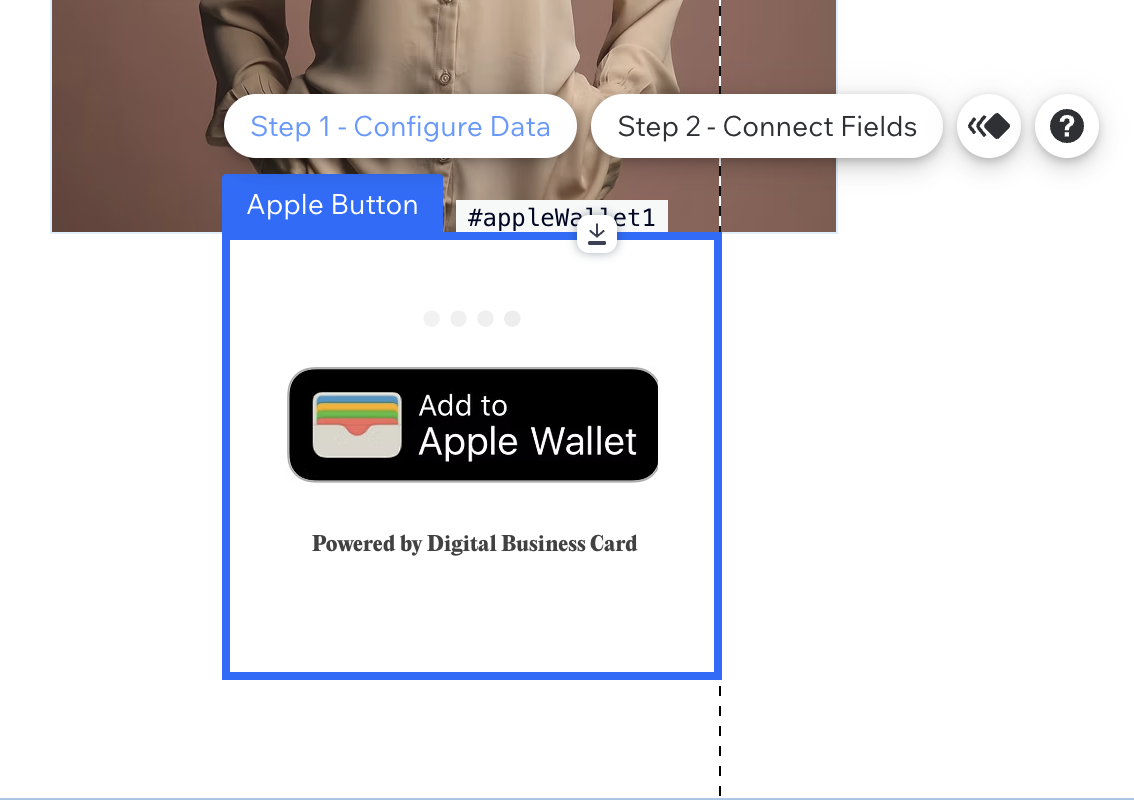
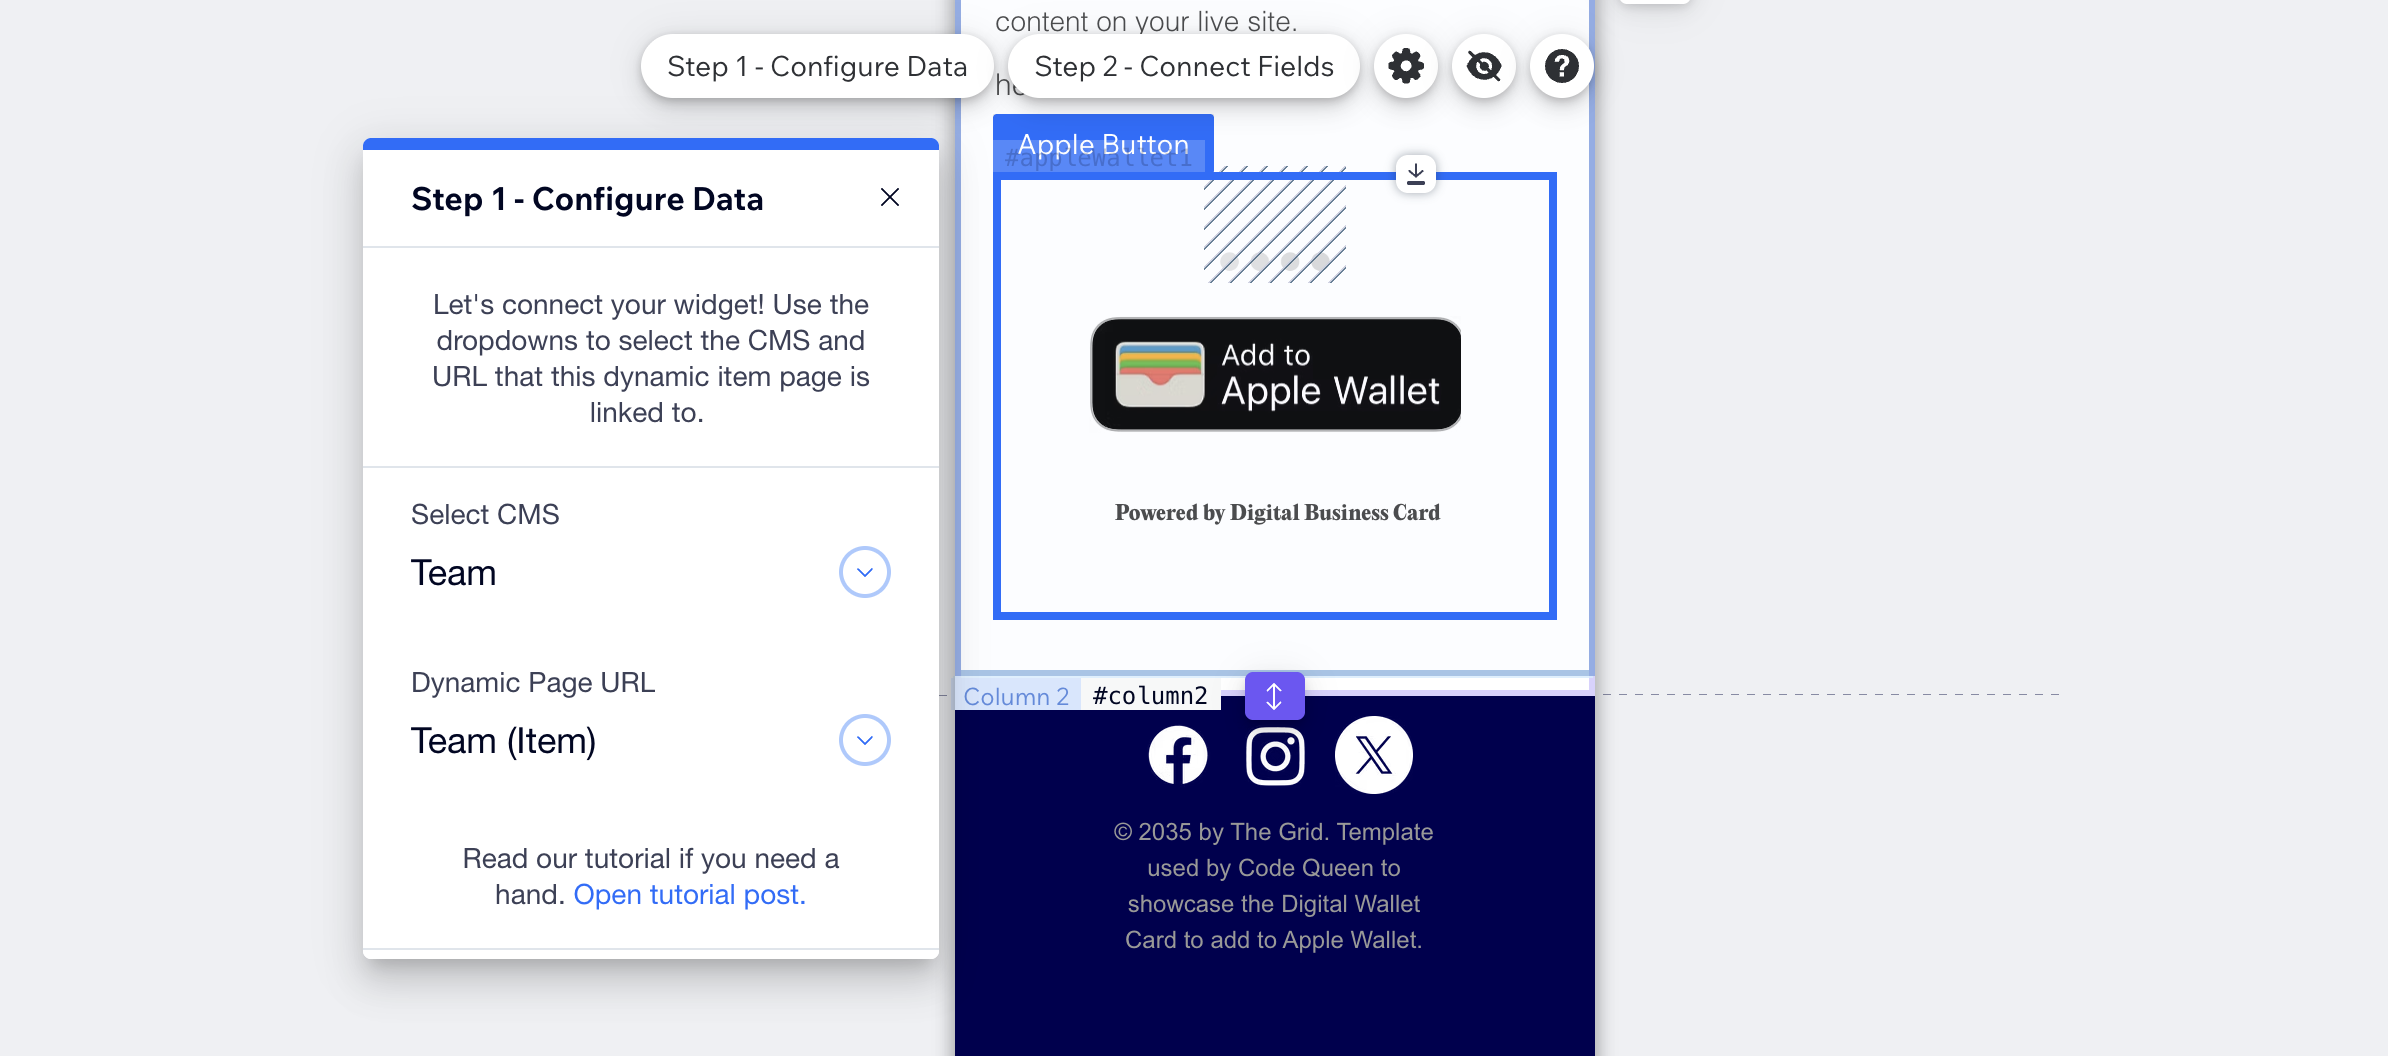
Once you have placed your widget on your dynamic item page, click on the widget to view the configuration options. Click on Step 1 to begin. The first dropdown will give you a list of all of your CMS on your website. Select the CMS that powers the current dynamic item page where you installed the widget.
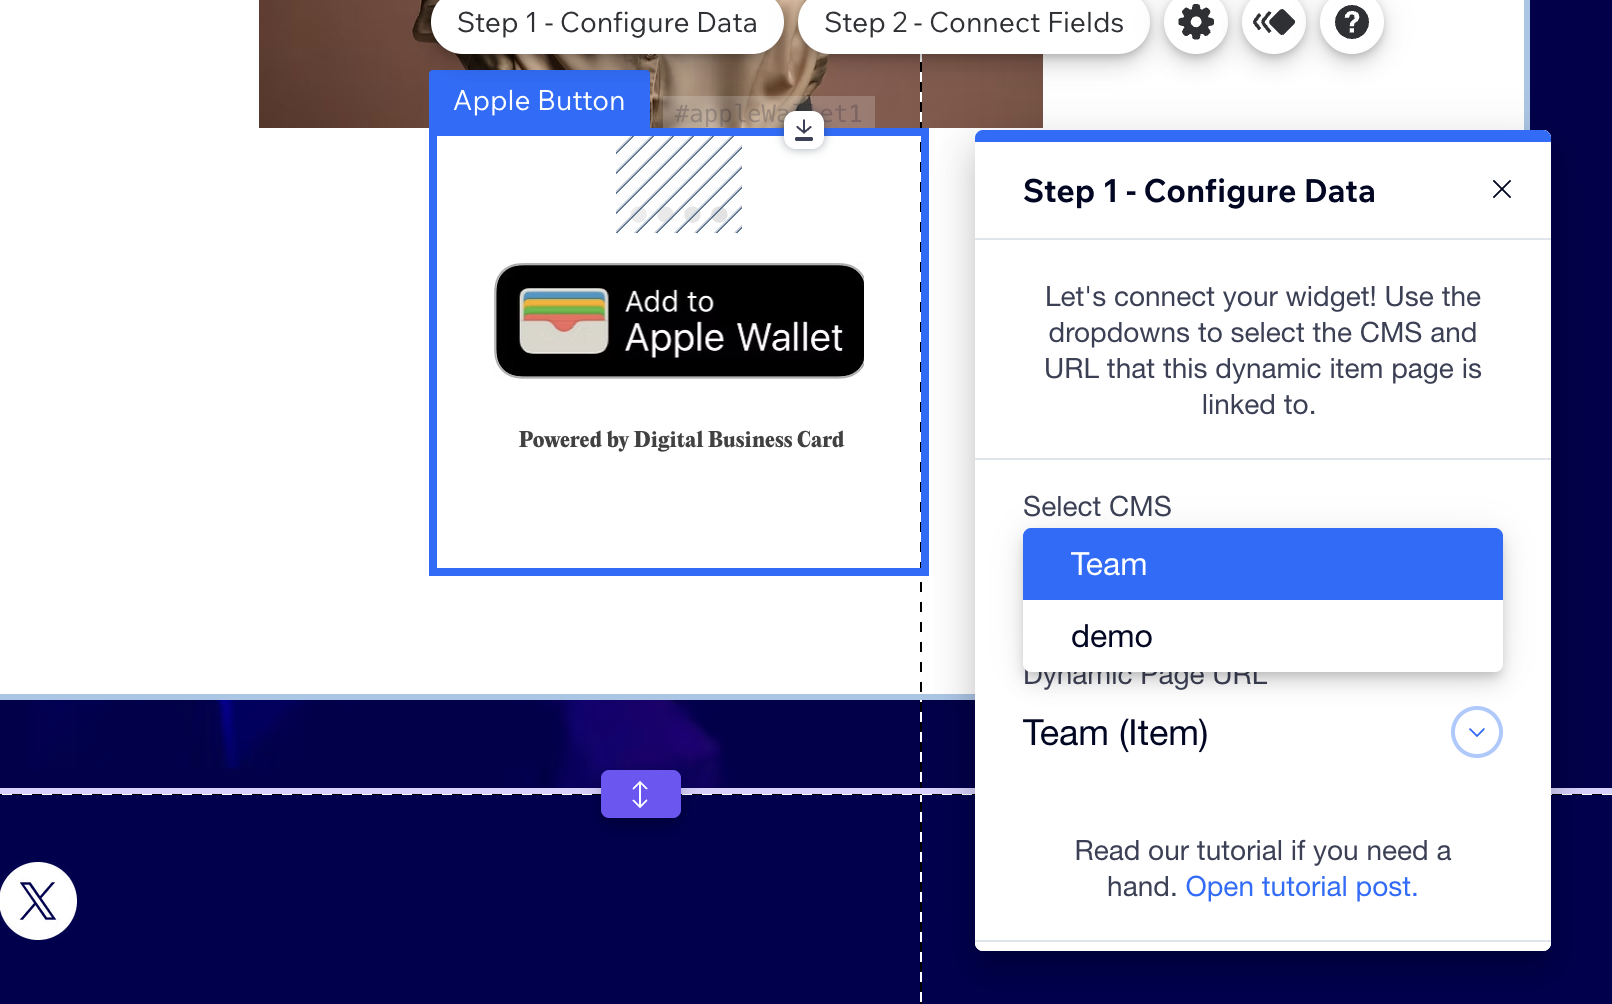
After selecting the correct CMS, use the second dropdown to select your dynamic item page for this widget.
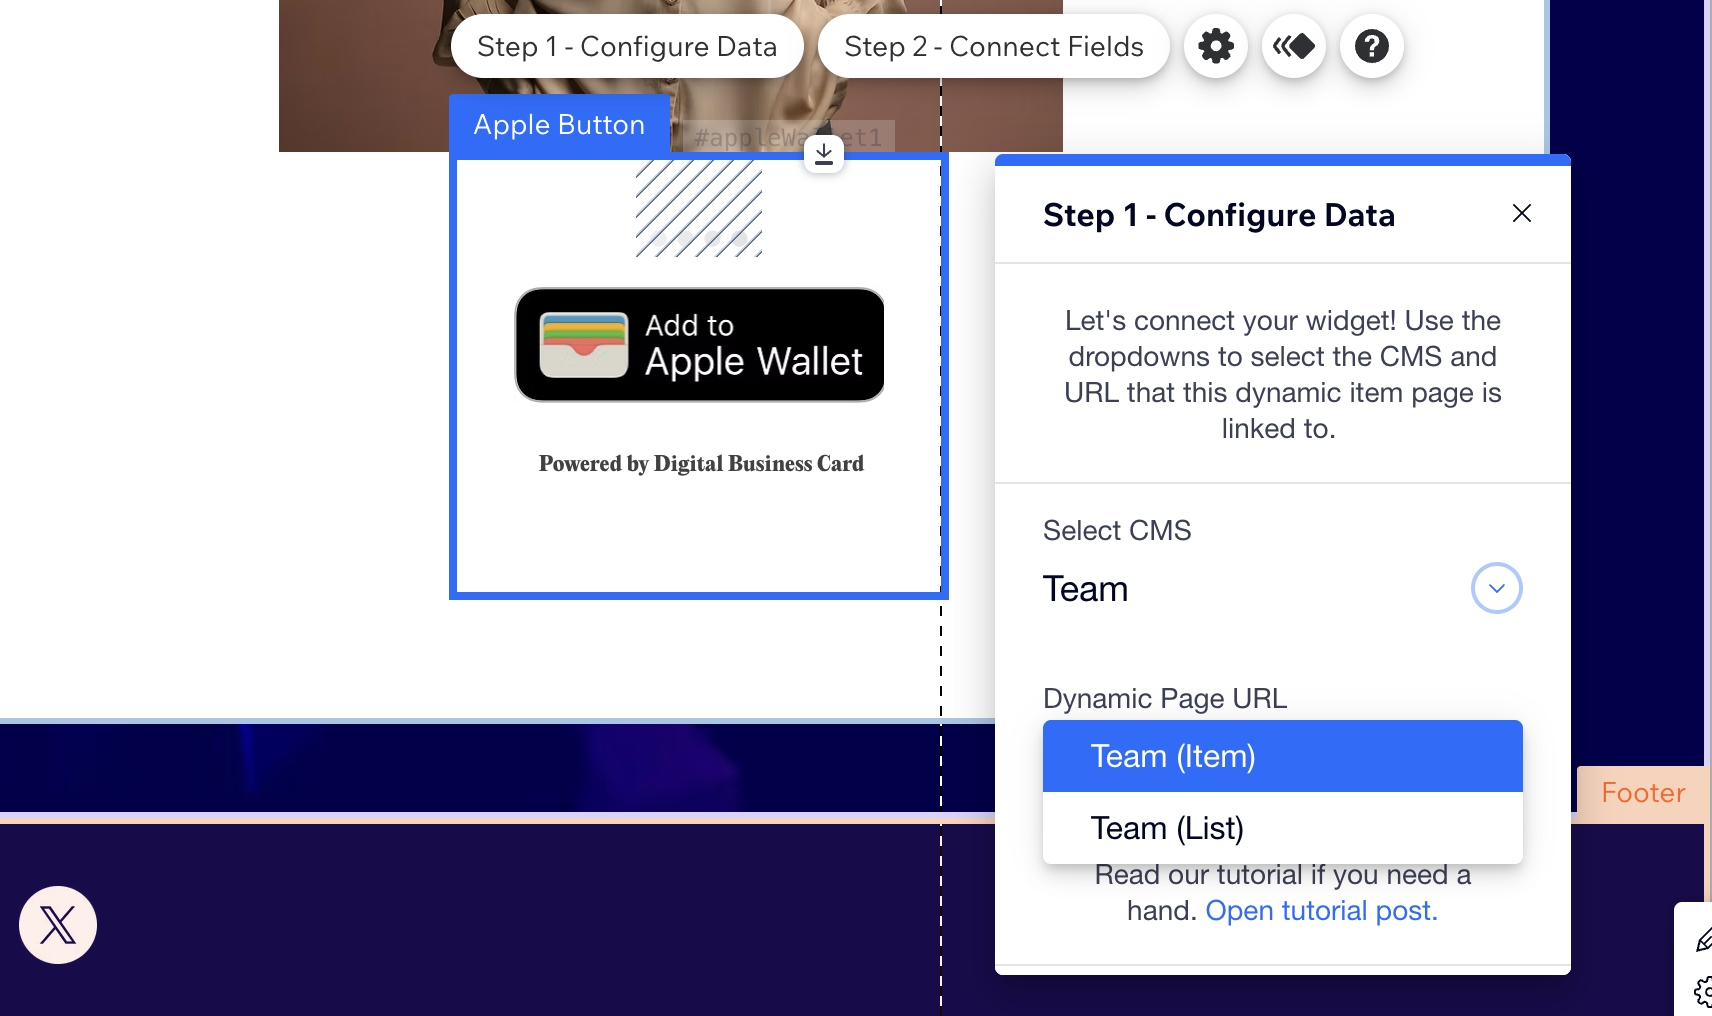
That is all for this step! Close the Step 1 window to move onto the last step of configuration.
Step 2 - Connect Fields
Approximate time: 2-4 minutes
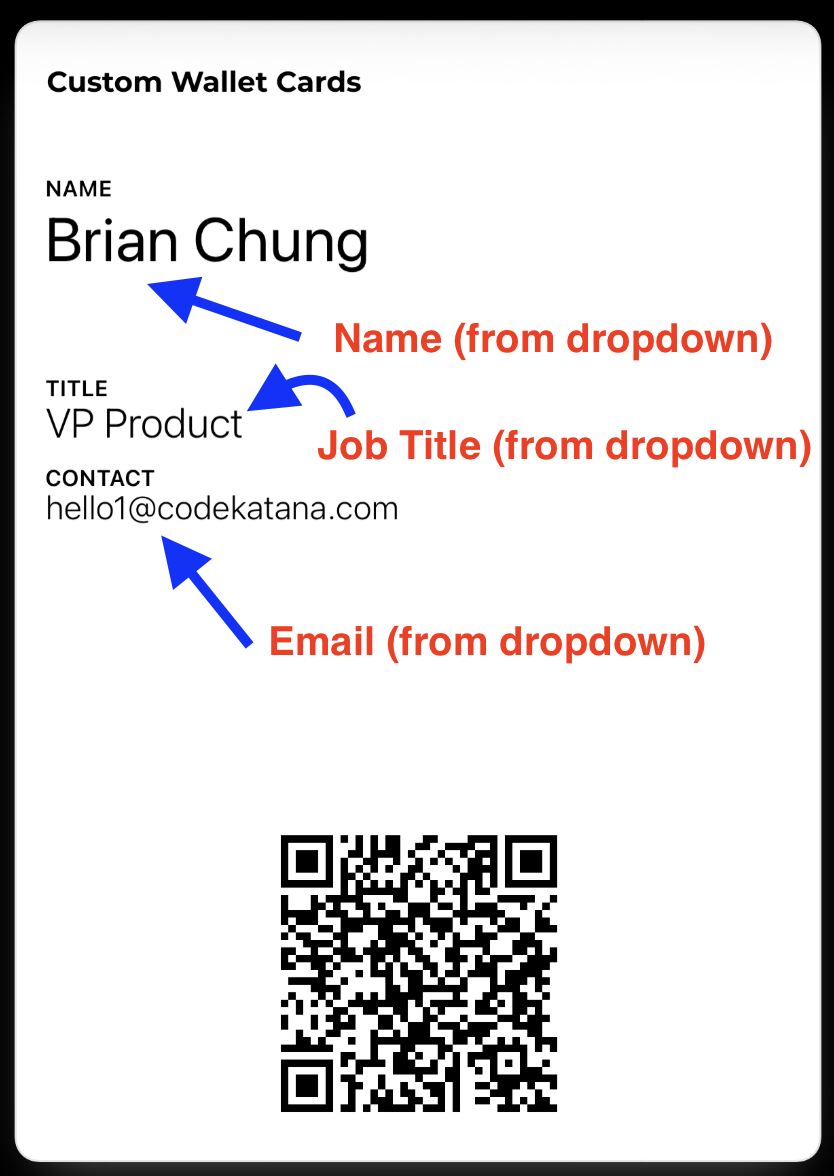
Click on Step 2 to configure the next settings. There are 3 required fields to generate an Apple Wallet Card. These fields are called the Main Field, Second Field and Third Field. Use the Step 2 configuration window to type the label you want for each field and use each dropdown to select corresponding field in your CMS that has the value for each one.
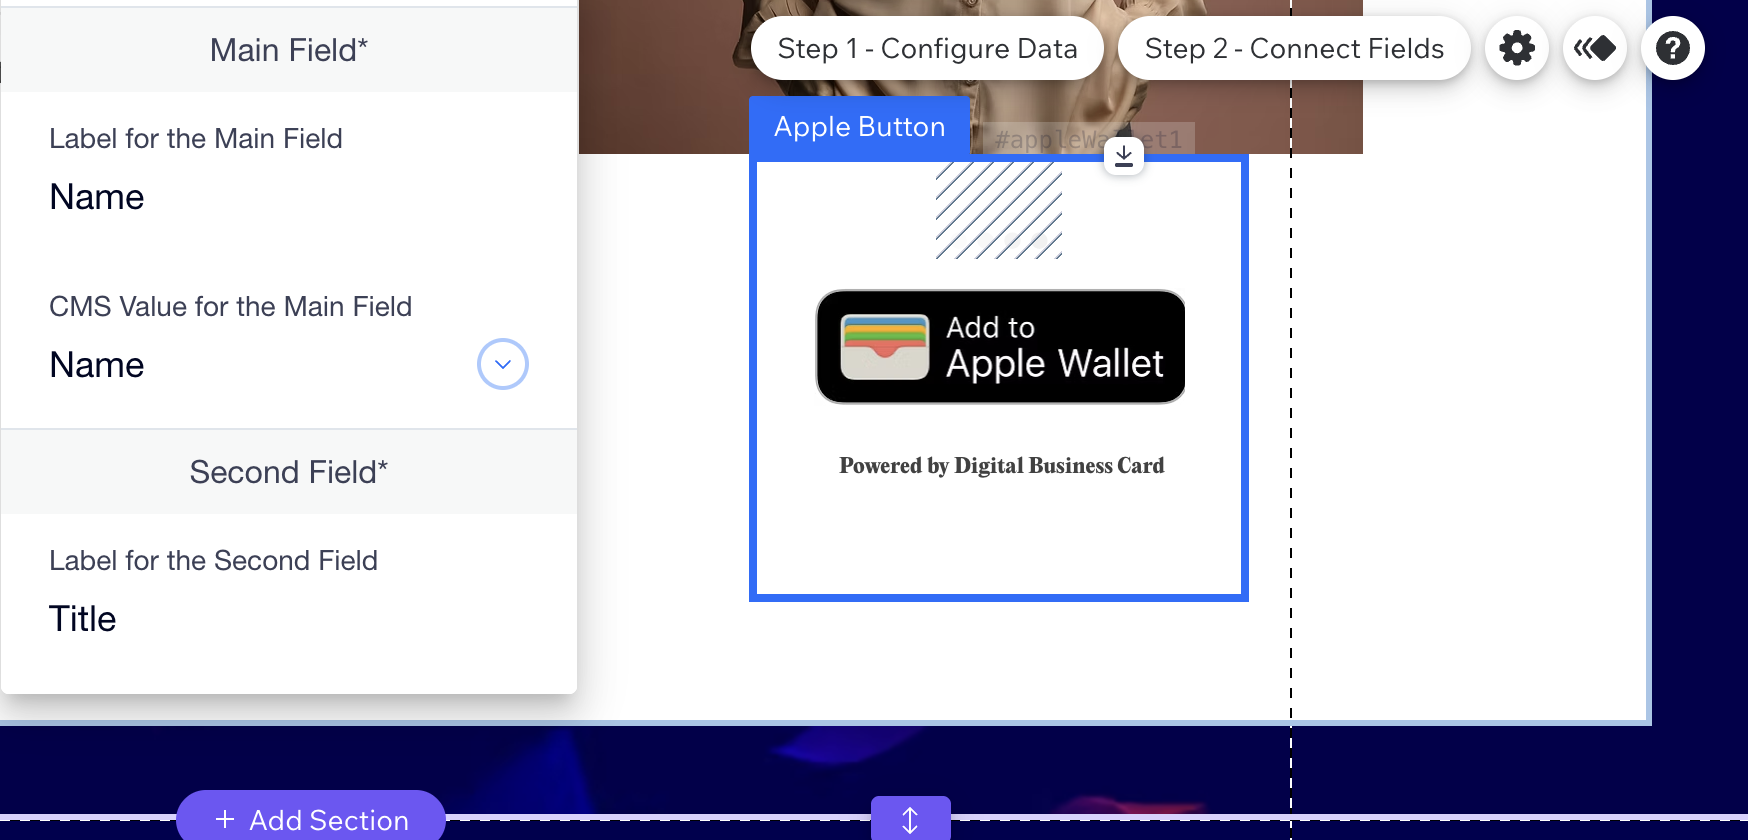
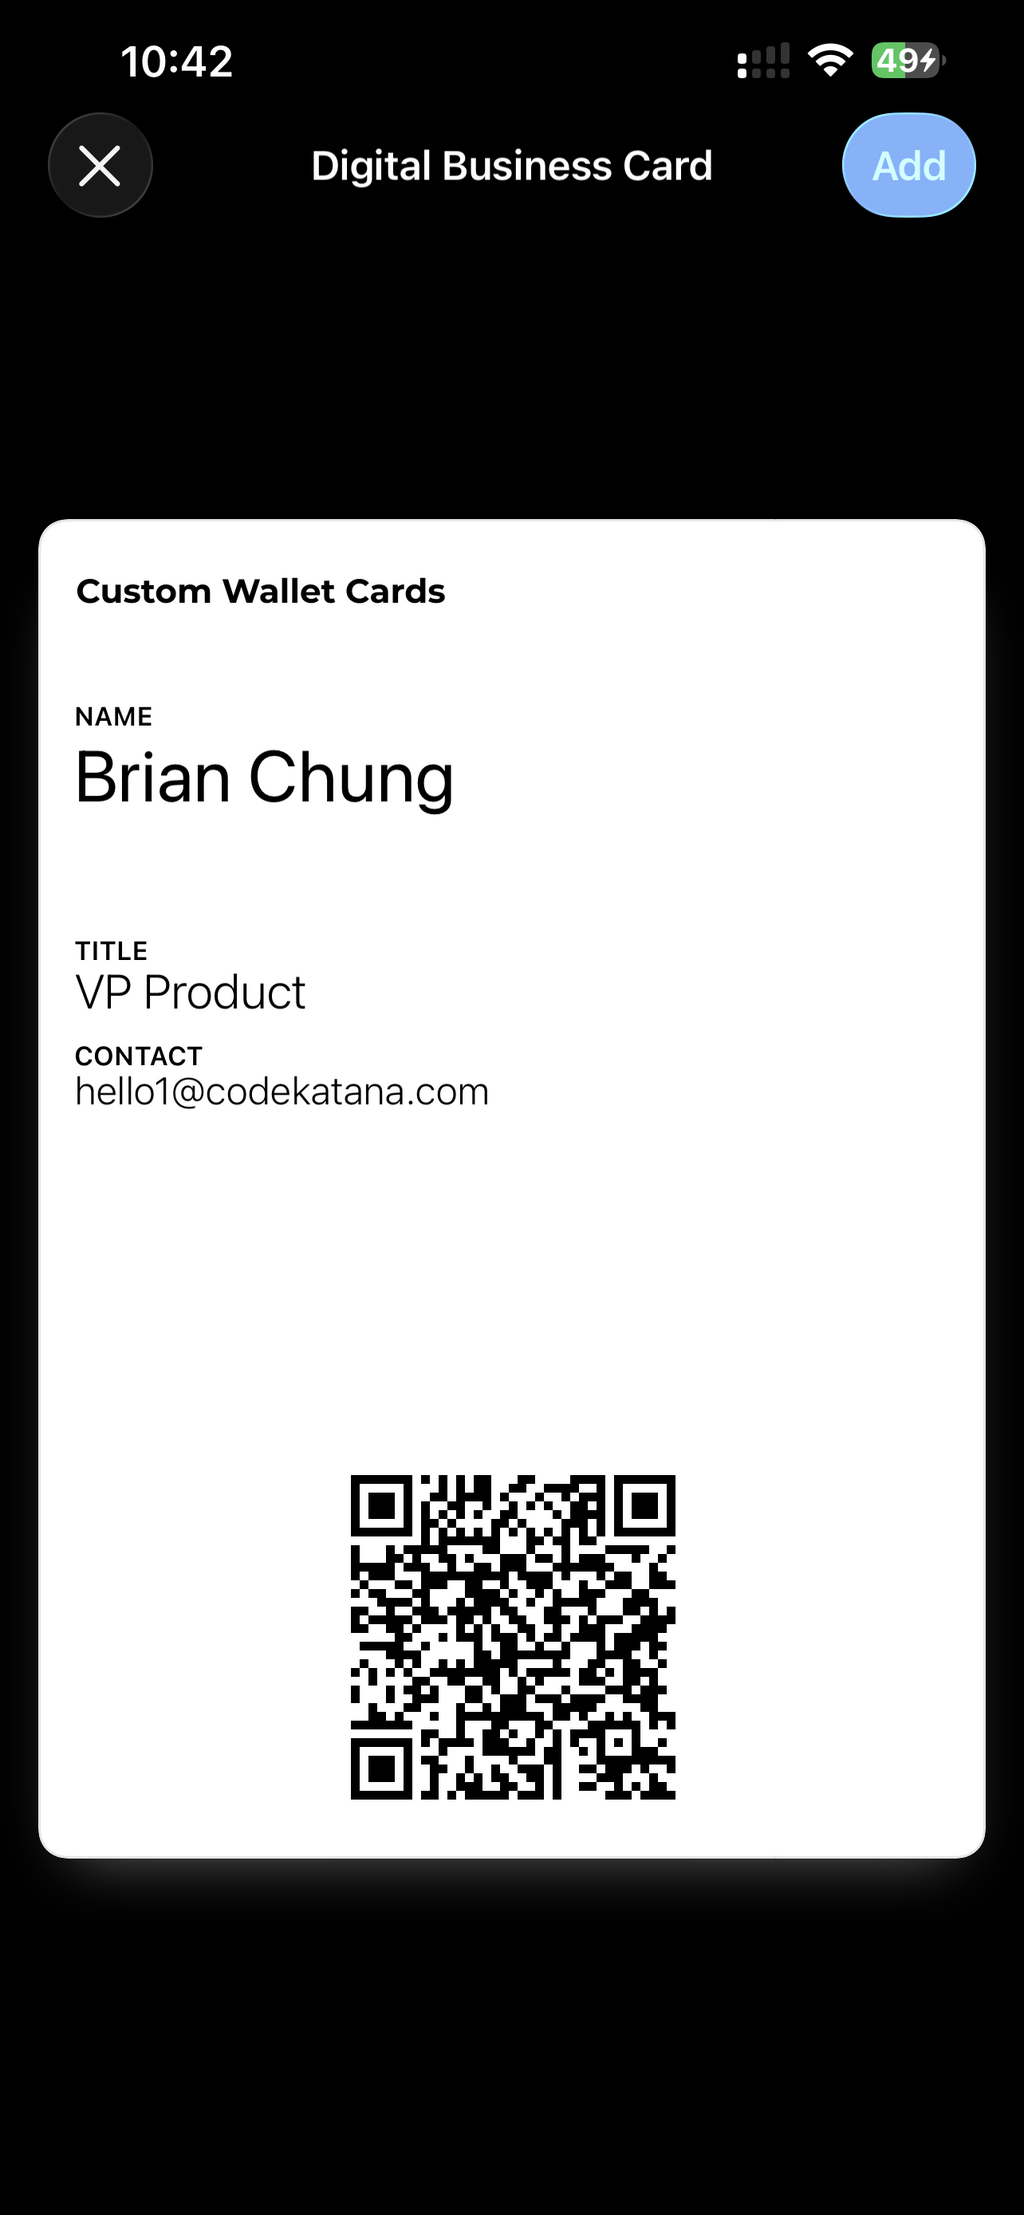
For our sample card, we used Name, Title and Contact as our three fields (in that order). See the image below to view how Apple Wallet Card will display this data:
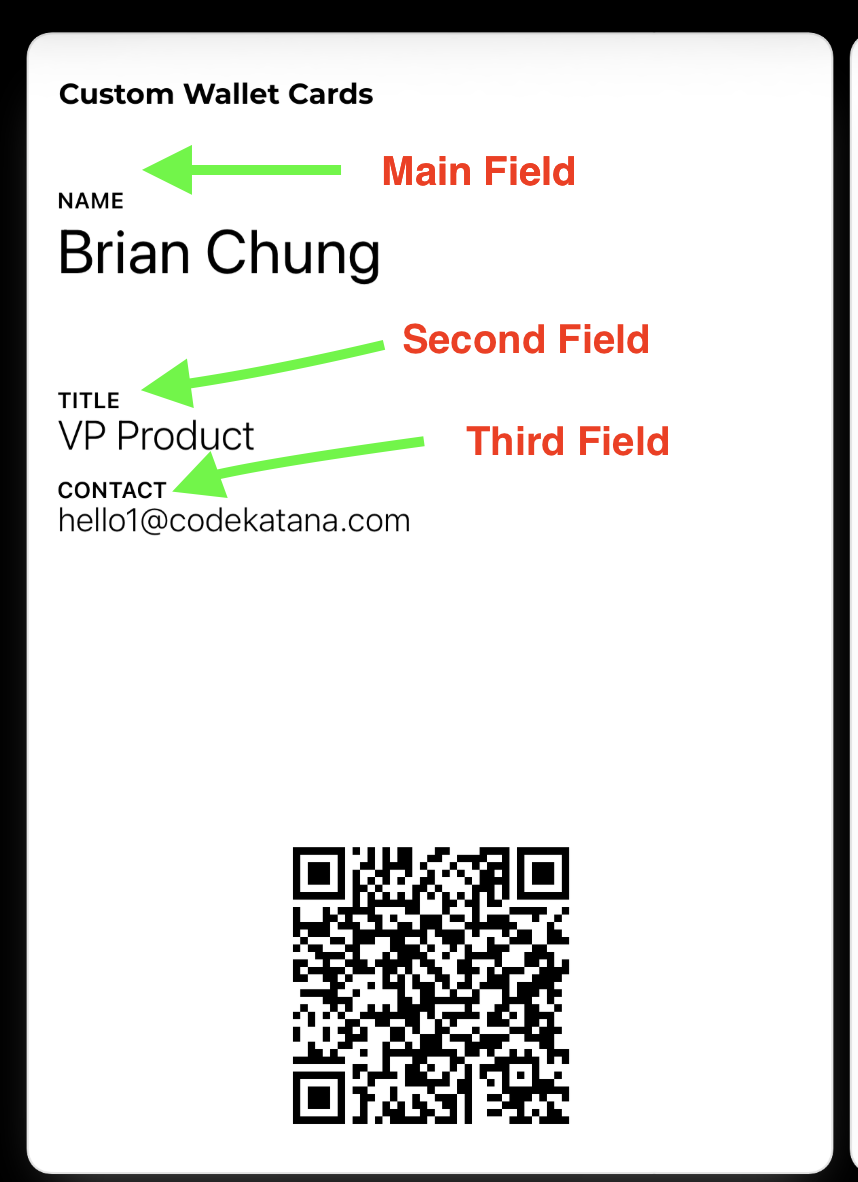
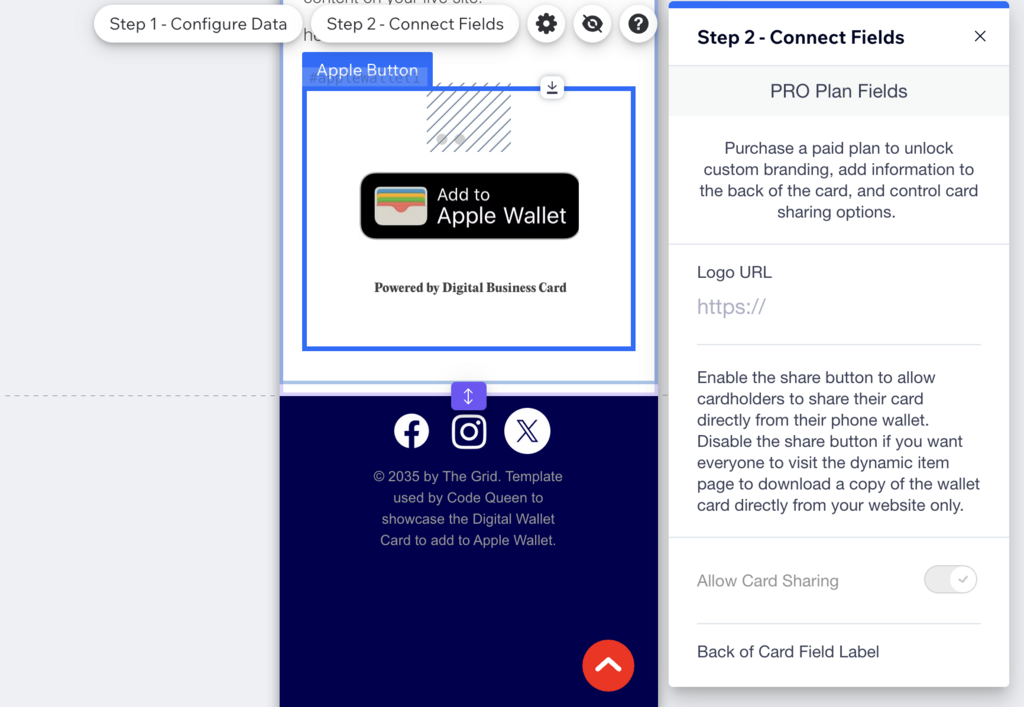
If you have the Pro version of the app then you can continue to configure a custom Logo. See the sample card above to view the logo we use for all of the free plans. Notice the very small rectangular space Apple Wallet allows for the logo. Our logo is an image file that says "Custom wallet Cards".
Logo Specifications
- Required size: 160 x 50 pixels
- Required Format: PNG
- Keep file size under 500KB
- Ensure logo is readable on white backgrounds
You can also add on your own custom backfield information that will be displayed on the back of the digital wallet card. And finally you can control the "allow card sharing" by toggling it on or off. If card sharing is turned on then anyone that has downloaded the wallet card can share it to another person directly from their phone. Check out the 'back of card' sample on the bottom right image.

Back of Card Sample
In case you were wondering, yes! You can also configure the widget directly from the mobile editor version after you installed it via the desktop mode!
Publish and Test
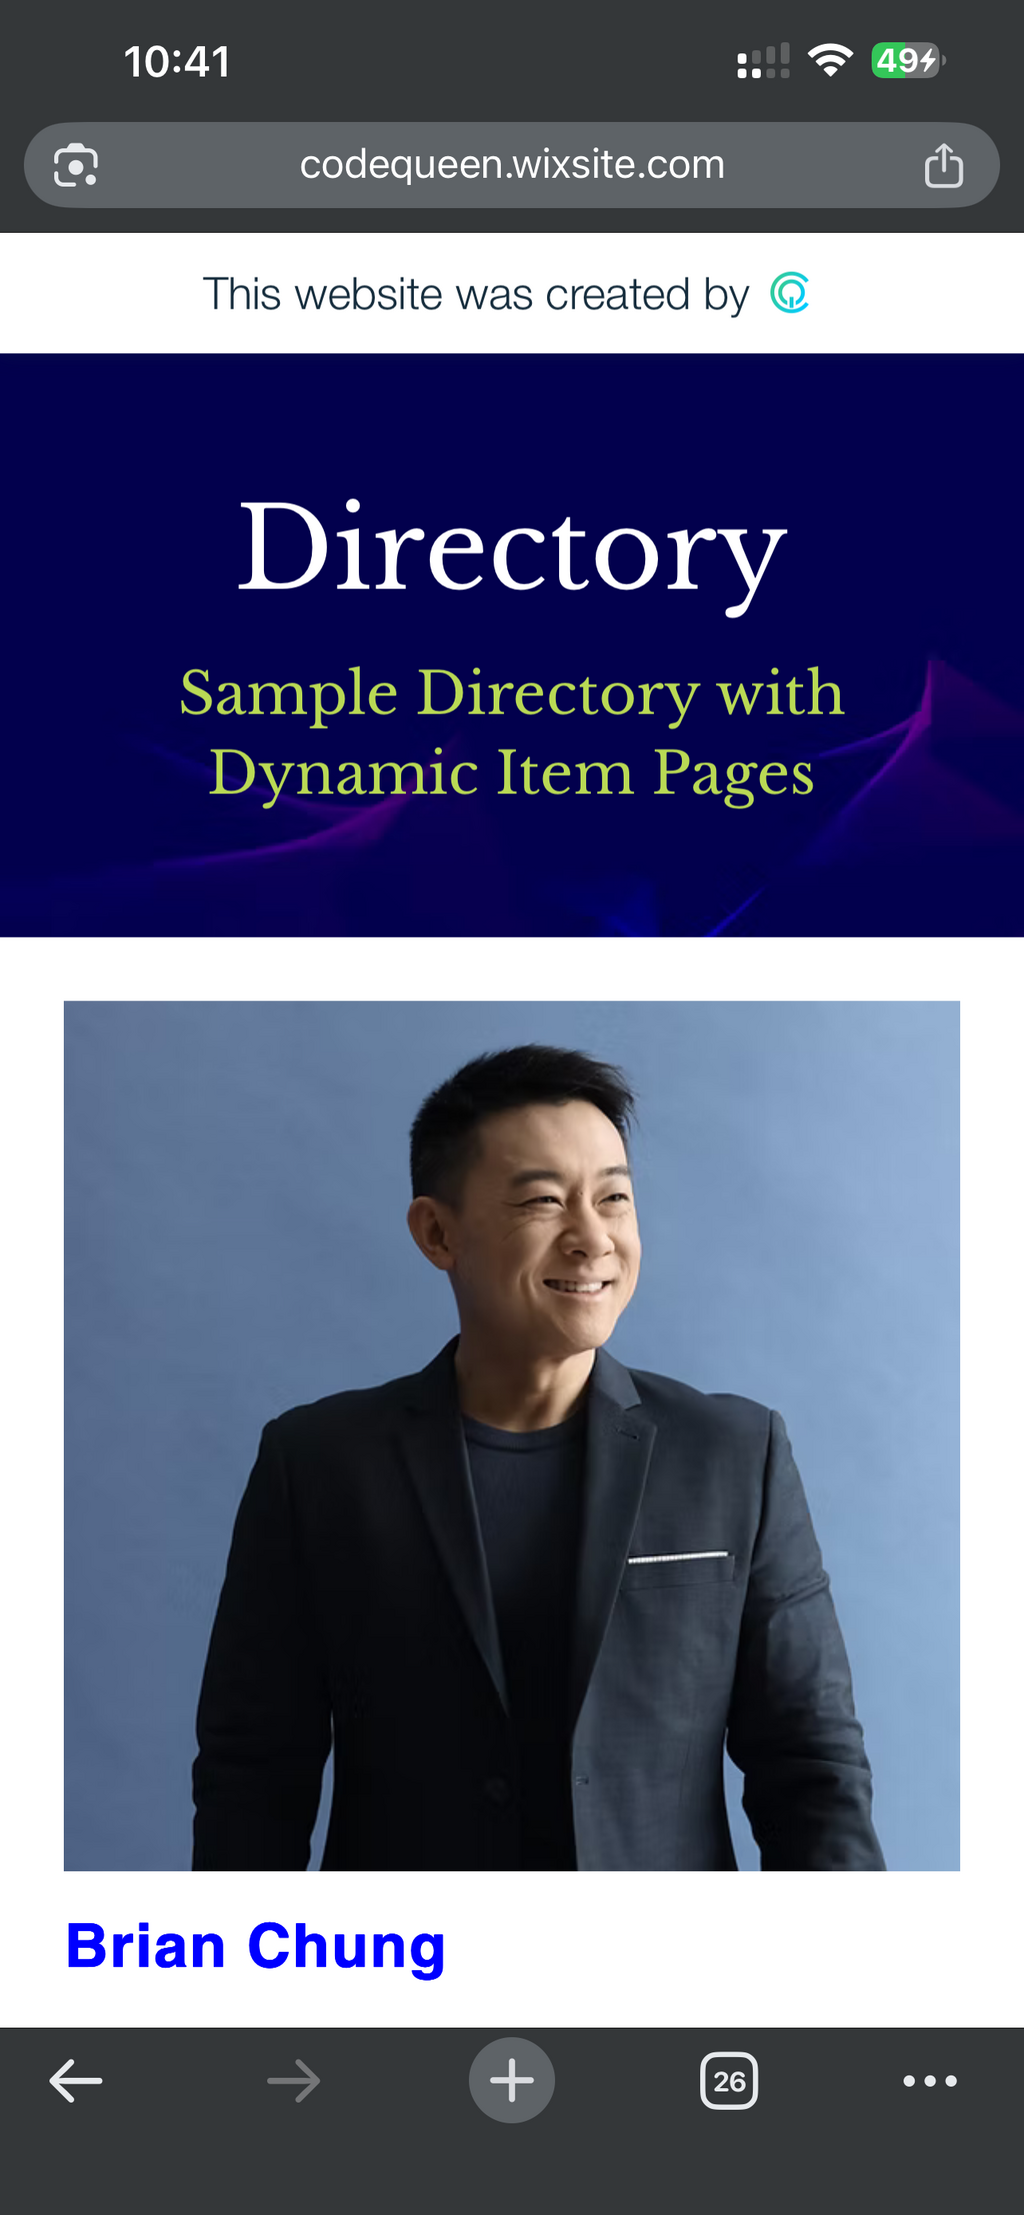
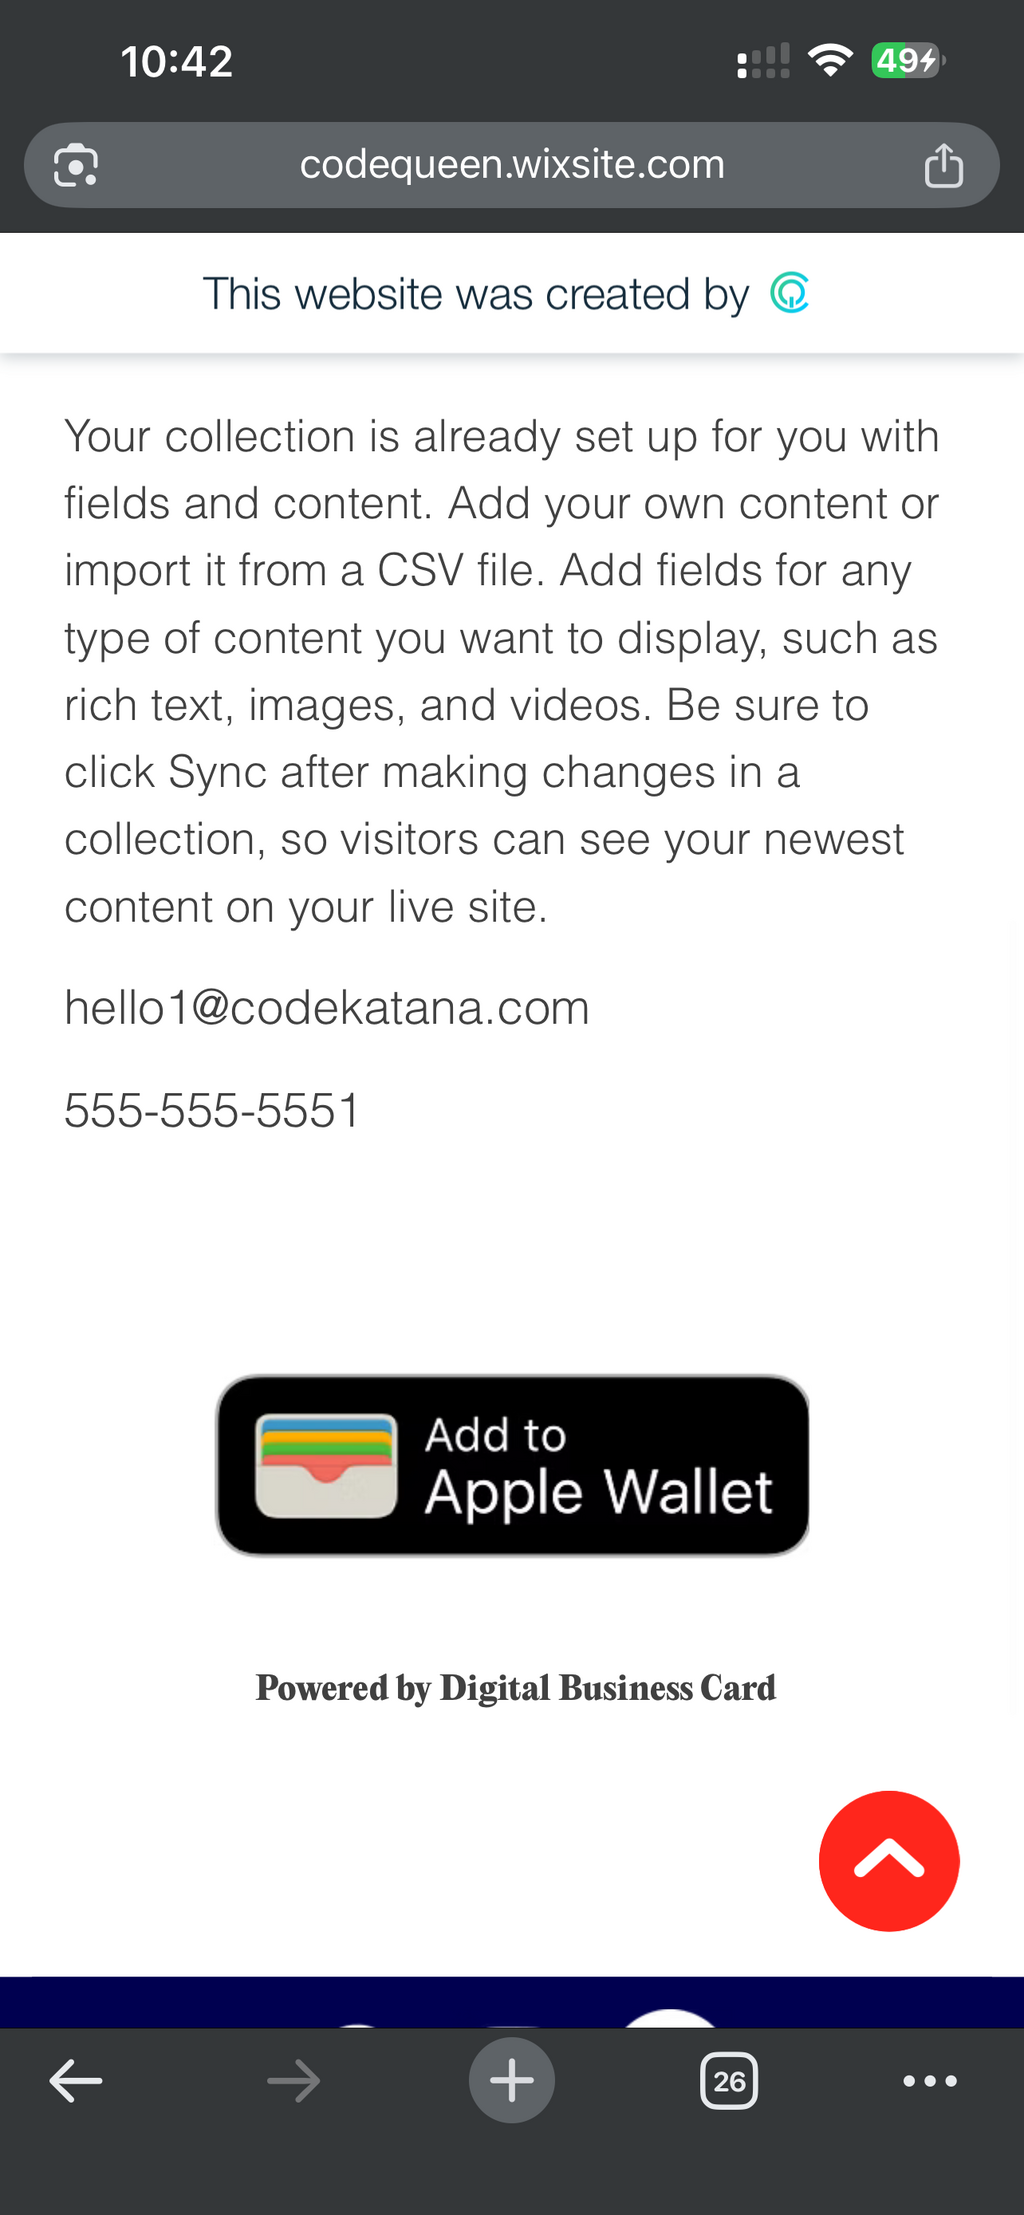
Now you can publish your site to test out the desktop and mobile version. If a visitor downloads the wallet card file from a desktop version, they will be prompted to save the file to their desktop so they can open and save it on their phone later. If a visitor downloads the wallet card file from their mobile device, they will be immediately prompted to add their wallet card to their mobile wallet in that moment.
In case you were wondering!
Yes, Apple Wallet has specific design requirements in order to comply with their terms of use. For example, the Add to Apple Wallet image button cannot be modified at all and must be used as-is. Also, the Add to Apple Wallet image button cannot have any other elements within 20 pixels around all sides.
Read More Apple RequirementsDo you have questions? I have solutions!
Book a free consultation. No strings attached.